How is soy sauce made?
With records of it being used in 200 BC, it’s one of the oldest and most famous condiments there is. Soy sauce has become an essential go-to product in our kitchens because it adds flavour like no other and it’s all down to that deliciously concentrated umami.
So how’s soy sauce made? Bound to be complicated if it involves fermentation, right? Well yes, it’s not one you can whip up quickly, but that’s where the depth of flavour comes from. We explain how soy sauce is made so that you can impress your dinner guests as a soy sauce connoisseur. Plus the production process is fascinating to read about…
What is soy sauce made of?
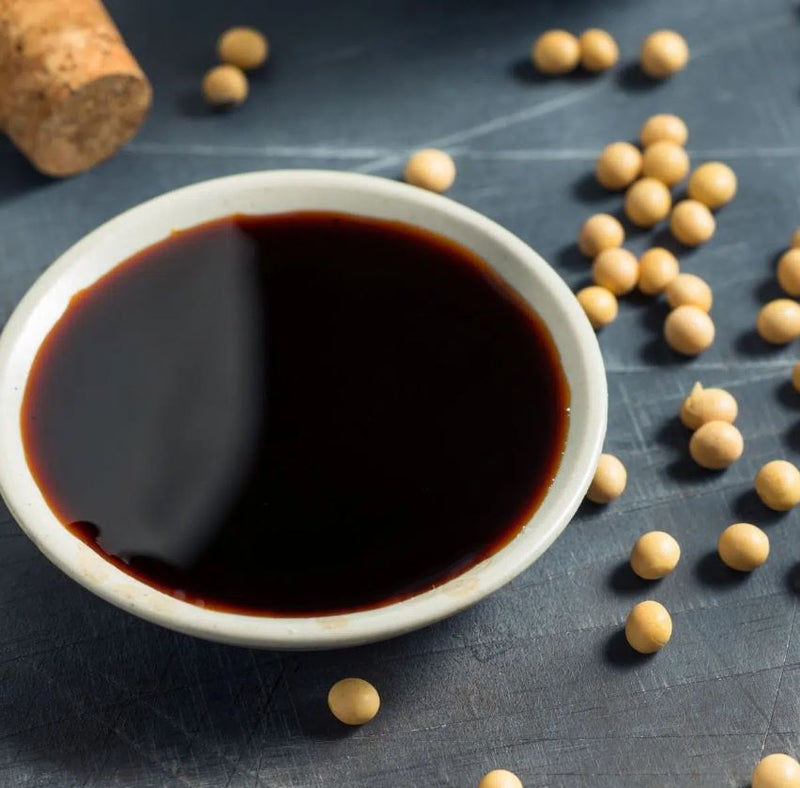
Soy sauce is made from just five basic ingredients: soybeans, water, whole wheat grains, salt and fermenting agents like fungus and mould (usually Aspergillus sojae or Aspergillus oryzae). Tamari (similar to soy sauce) sometimes uses Aspergillus tamarii.
Sure, fungus doesn’t sound appetising, but we all know the end result is delectable, so bear with us. These ingredients all have special roles to play in the fermentation process. The salt-water solution acts as a preservative and controls the breeding of bacteria during the process. The protein-packed soybeans are left to soak in water and then steamed. And the carb-loaded wheat is roasted and crushed to provide a sweet taste and that delicious aroma.
How is soy sauce made?
Preparation of the ingredients
If you want to make your own soy sauce at home to wow your friends and family, then firstly you have to prepare the ingredients:
- Rinse the soybeans under the tap and then put them in a large glass jar and cover them with water (make sure the jar is large enough to allow the soybeans to double in size as they absorb the water). Add more water as needed.
- Soak the soybeans overnight, for around 12-16 hours.
- Drain the soybeans and then boil them in water on the stove for about 6 hours. Or you can steam them in a pressure cooker, or slow cooker with a basket above the water, for an hour and a half. You can test to see if they are fully cooked by putting a soybean between your fingers and pressing. The soybean should be easy to squish.
- Next, brown the whole wheat grains by spreading them over a baking sheet and popping them in the oven or briefly cooking them in a pan on the stove.
- Then pop the browned wheat grains into a food processor and quickly blitz them, aiming for the grains to be broken up, not powdered.
Making the koji
- Mix the drained, cooked soybeans and the chopped wheat grains in a large bowl and leave to cool.
- Next, you need to take your koji starter (aka moyashi or tane koji in Japanese). This is the fungi spore, conidia, or koji mould. The mould is cultivated on grains such as rice and then the spores are harvested. Once you have your koji starter in your hands you need to dust it all over the mix of soybeans and wheat grain then stir so that it’s all evenly covered.
- Spread this mixture over stainless steel trays and make furrows/grooves every couple of inches.
- Put a thermometer in the koji mix and cover the trays with clingfilm. Heat the trays to around 85ªF (32ºC) with hot water bottles or in a warm oven. Keep checking the temperature because if it gets too high, bad bacteria can grow and the mix will spoil (the pressure is on!)
- Stir the mix each time you do a temperature check and then put the furrows back in.
Fermentation and ageing of moromi
- You’ll begin to see a soft, fluffy white mould growing over the koji mix over the next couple of days. Some areas may turn a yellowy-green colour and that’s OK — that’s just the new spores being created. However, if the koji mix turns shiny, black or dark green it’s gone bad and you’ll have to throw it away (making soy sauce isn’t for the faint hearted!)
- Next you’ll need to make the saltwater solution. Mix four litres of water with 1kg sea salt in a large container with a tight fitting lid. Stir the solution until the salt has dissolved.
- Then stir the koji mix into the saltwater. This mix is called moromi. Cover the moromi by fitting the lid on the container. Label the container with the date and leave it to ferment (stirring daily).
- After the week is up, leave the container in a warm place for about 6 months to brew. The moromi will darken and it could possibly separate into solid/liquid (don’t panic - it’s OK for it to do that!)
Pressing and refining
- You begin pressing and refining after waiting a whopping 6-12 months fermentation. By straining the moromi you’ll finally get your homemade soy sauce! Use a cloth-lined strainer over a bottle and simply twist the cloth and the rust-coloured liquid will drop into the bottle.
- After the soy sauce has spent a few days settling in the bottle, you may need to filter the liquid again if there is some soybean residue at the bottom. The filtering will also darken the colour of the soy sauce. And then…drumroll…you finally have your homemade soy sauce!
Packing into bottles
Your homemade soy sauce will look great when lined up in glass bottles. You can design your own labels for the bottles so that you can gift them to friends and family. A top tip is to leave the bottles in a sunny place for a few weeks to further darken the colour of the soy sauce, perhaps on a sunny window ledge (easier said than done in the UK, we know).
Making soy sauce can be a tricky and lengthy process. The actual preparation of the ingredients doesn’t take long; it’s the fermentation that you have to wait for (although it’s worth the wait!)
To speed up this process, without koji, chemically produced soy sauce came along. It contains additional unhealthy ingredients (glucose syrup, colour additives, corn syrup…) But in doing this, the complex flavour from the fermentation is lost. High-quality soy sauce has to be naturally brewed.
We tend to have a natural fear of making anything fermented (fearful fermentation newbies: check out our kimchi recipe). If you feel you haven’t got the confidence (or time!) to make homemade soy sauce, we can help you with our naturally brewed, MSG-free, authentic range of soy sauces using only the key ingredients. As well as our classic soy sauce, we have reduced salt soy sauce and sweet soy sauce. Thankfully you won’t need to get out the thermometers and fungus — we’ve done it for you!